Functions and Alarms
Functions are the easiest way to process data channels in K-A. They allow creating new data sets that are the user-defined functions of any number of input sets of data.
Alarms are the functions whose output data type is “alarm”.
The principle of working with the Function is to first define a function in the Automation mode and then create as many function instances as necessary for any well in PDG mode.
Functions fall under the two categories:
Built-in functions
Custom functions
Defining Functions/Alarms
Switch to Automation mode.
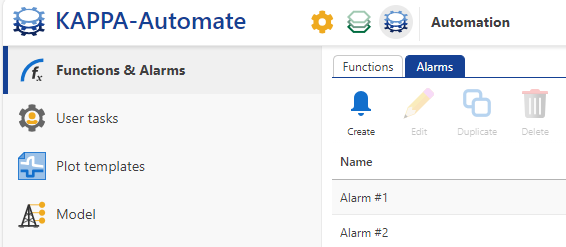
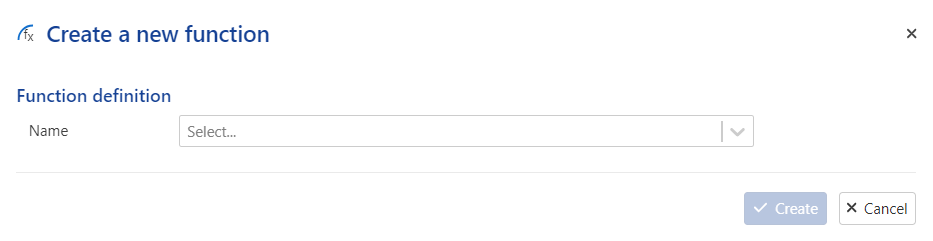
To create a Function click on Create,
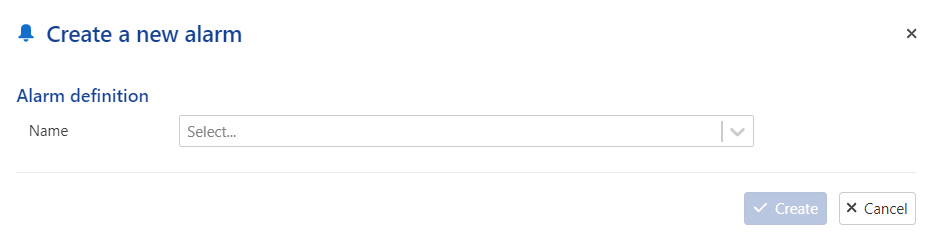
 , in the Functions tab at the top. To create an Alarm switch to Alarms tab and click on Create,
  .
.
Give the new function/alarm a Name. Name must be unique and can be a combination of letters, symbols and numbers.
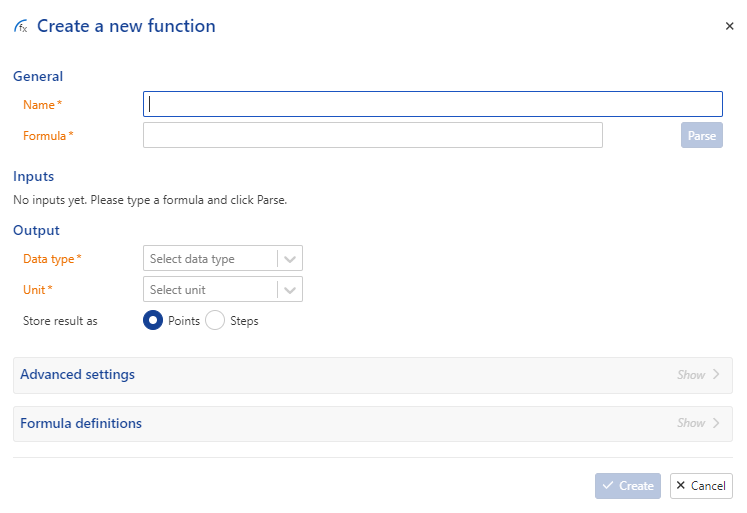
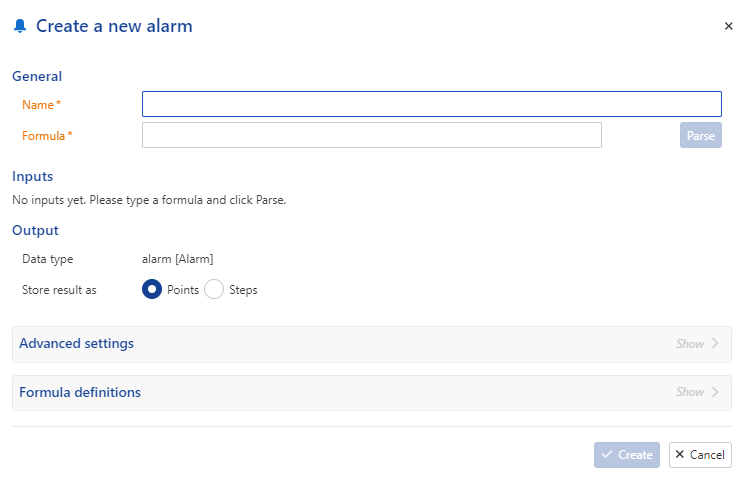
Define the function/alarm Formula. It is a character string with variables and a large choice of functions (arithmetic, logic, etc), which can be viewed under the Formula definitions panel. The output data type for alarm is “alarm”, so the formula should contain a binary relation.
Note
KAPPA-Automate functions are compliant with mXparser library.
Click on Parse.
Define the different variables in the Formula. Each input formula parameter can be either a Dataset , a Well property or a Constant. Dataset Type, Units and Label can be selected from the corresponding dropdown list. New labels can also be defined here by simply typing in the new name and hitting Enter.
Important
The Constant value entered here will be the default value when an instance of the function is created. This value can be edited when creating an instance of the function.
Labels can be added to well property inputs in function definition.
For a function define the Output Data type and Unit .
If the default Data Synchronization needs to be edited, it can be done under the Advanced settings panel.
Click on Create.
Managing Functions/Alarms
Built-in functions/alarms cannot be deleted or edited. Their definitions may only be viewed. They may however be duplicated and the duplicate edited.
Deleting a Custom Function/Alarm
Switch to Automation mode.
Select Functions & Alarms in the hierarchy on the left.
Select any user defined function/alarm in the list under Functions/Alarms tab (those with the Built-in flag unchecked).
Click on Delete,
 , at the top.
Duplicating a Function/Alarm
Switch to Automation mode.
Select Functions & Alarms in the hierarchy on the left.
Select any function/alarm in the list under Functions/Alarms tab.
Click on Duplicate,
 , at the top.
Editing a Custom Function/Alarm Definition
Switch to Automation mode.
Select Functions & Alarms in the hierarchy on the left.
Select any user defined function/alarm in the list under Functions/Alarms tab (those with the Built-in flag unchecked).
Click on Edit,
 , at the top.
Viewing a Built-in Function Definition
Switch to Automation mode.
Select Functions & Alarms in the hierarchy on the left.
Select any built-in function in the list under Functions tab (those with the Built-in flag checked).
Click on View,
 , at the top.
Creating a Function/Alarm Instance
After a Function/Alarm is created in the Automation mode, any number of the Function/Alarm's instances can be created for any well.
Go to PDG Mode and open the relevant field.
Select the well in the field hierarchy under which to create the instance.
To create a function instance in the toolbar at the top click on Function,
 ; to create an alarm instance click on Alarm,
  .
.
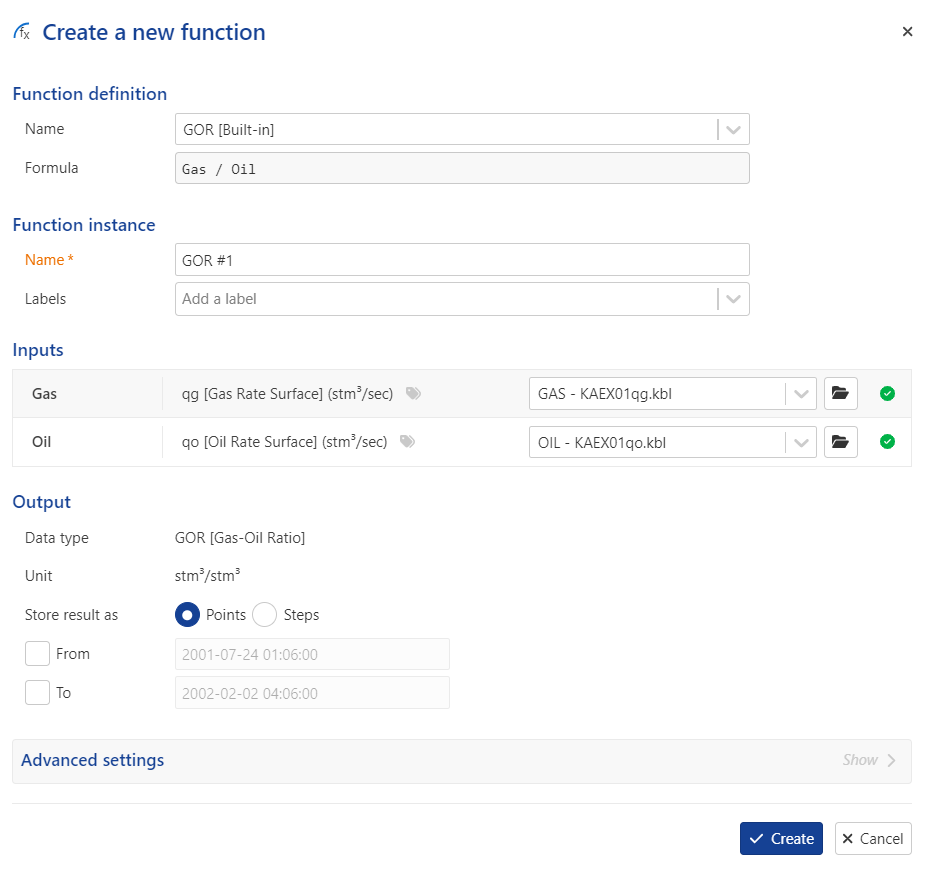
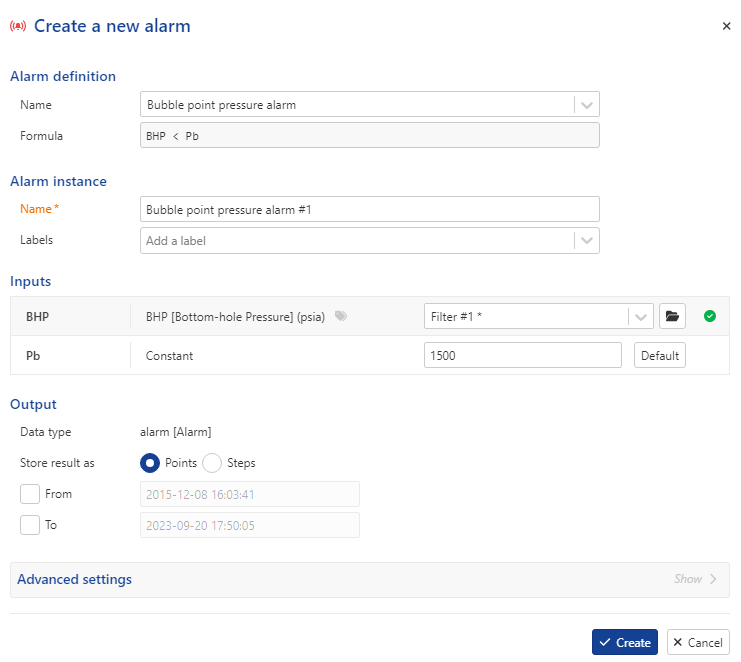
Select the function/alarm to instantiate from the dropdown list.
Note
The Function definition / Alarm definition section contains the information on the Function/Alarm being used (defined when the function/alarm was created) and cannot be changed.
Give this instance a Name.
Optional. Add any Labels if necessary. Labels can be selected from the dropdown list or created by typing a name and pressing Enter.
Optional. Change the default selection of Inputs if needed. By default, if no label is added, the Reference channel of the data type specified in the function definition is selected.
Optional. Select whether the output format should be Point or Step and the time range over which to calculate the Output.
Optional. If the default Data Synchronization needs to be edited, it can be done under the Advanced settings panel.
Click on Create.
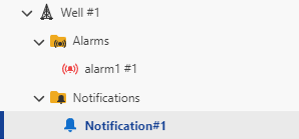
A new node appears in the field hierarchy under the well:
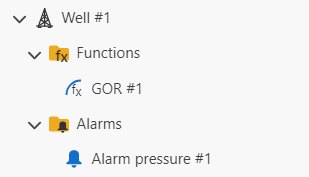
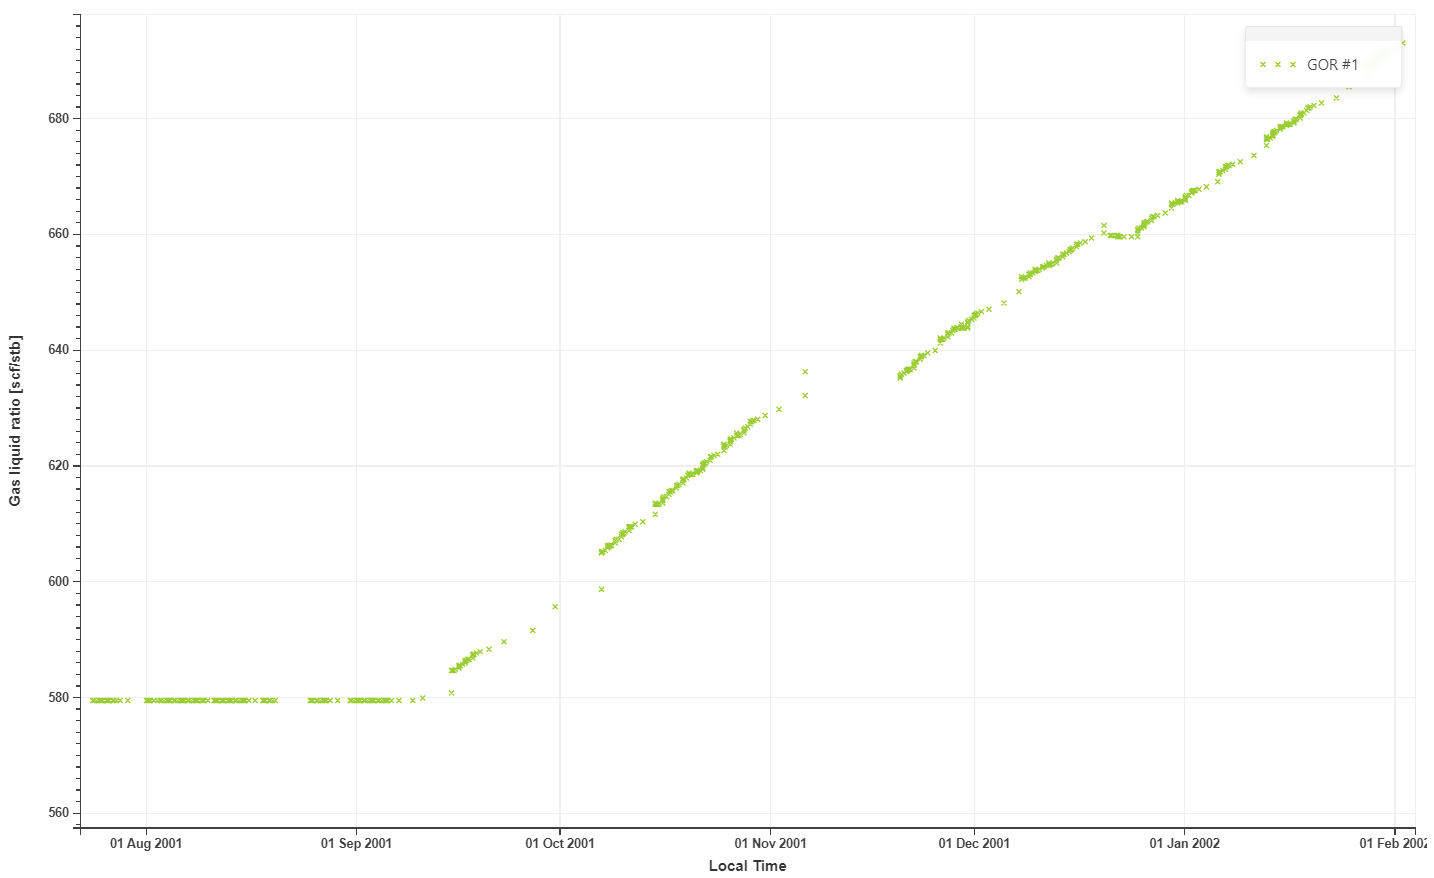
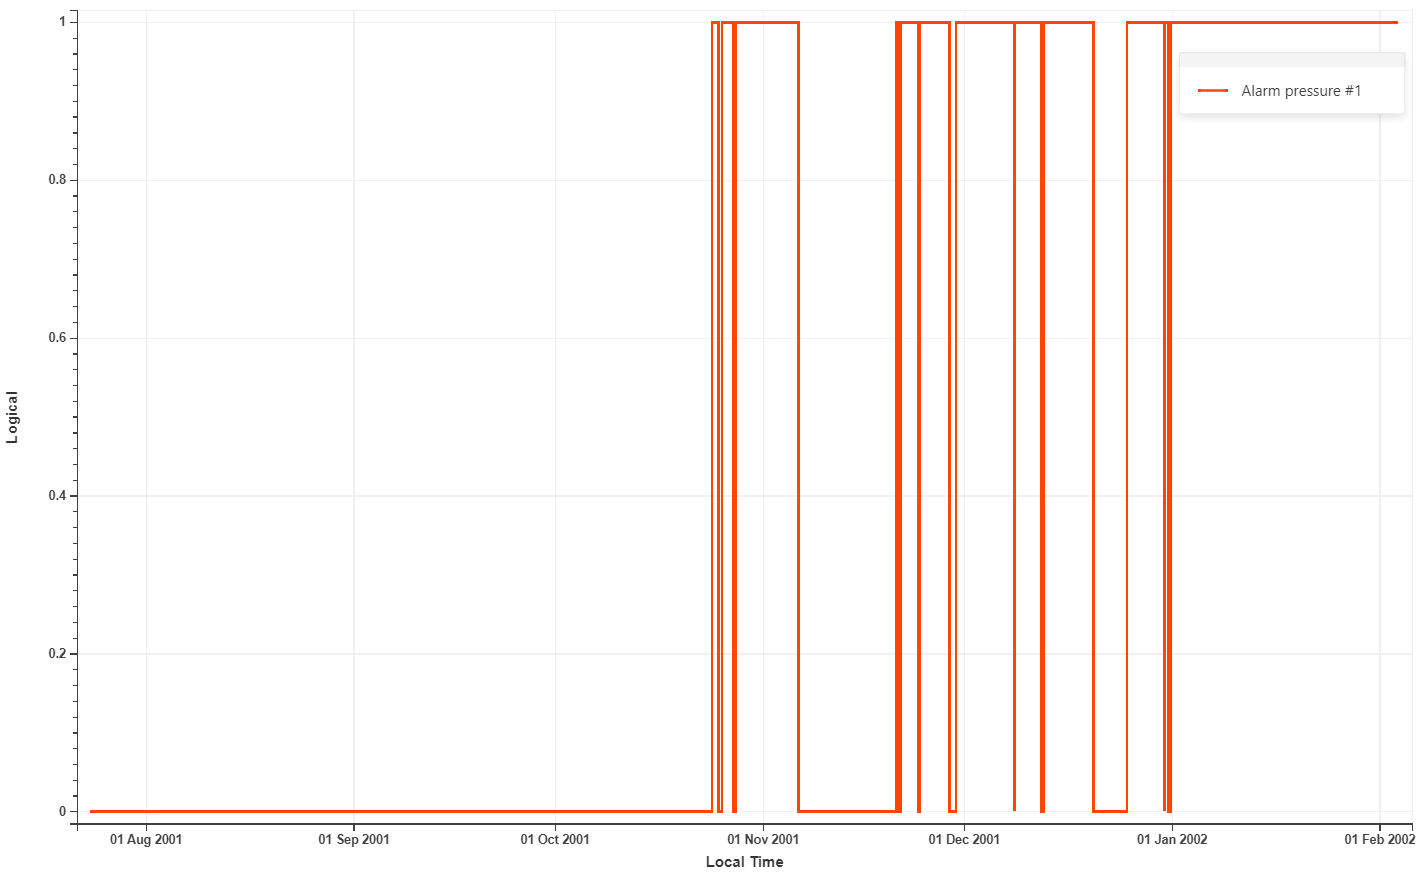
Click on the node to see the contextual plot displaying the function/alarm output:
Workflow clip
Creating a User Task Instance under a Well Group Level
It is possible to create a user task instance using the combination of inputs from different wells belonging to a Well group. T
To create a user task instance under a Well group level:
Switch to PDG mode.
Select the Well group.
Click on User Task,
 , in the toolbar at the top.
The remaining procedure is similar to the one explained above, with the specific that datasets from all the wells in the well group are available for the input.
Creating Function Instances in Bulk
Switch to PDG mode.
Select the field.
Switch view to Well flat view.
Select the wells for which the function instance is to be created.
Click on Function,
, in the toolbar at the top.The remaining procedure is similar to the one explained above, with the following exception:
Important
In bulk creation it is not possible to set the input data channels for each well individually; the reference channels of the corresponding data type will be used automatically.
Managing Function/Alarm Instances
Renaming a Function/Alarm Instance
Select the function/alarm instance in the field hierarchy under the Functions/Alarms folder.
Click on Rename,
 , in the toolbar at the top. Alternatively, right click on the function/alarm name and select Rename.
Enter the new name and click on OK.
Redefining a Function/Alarm Instance
Select the function/alarm instance in the field hierarchy under the Functions/Alarms folder.
Click on Redefine,
 , in the toolbar at the top.
Optional. Set the From and To limits of the function output.
Set the time from which to apply the new definition.
Click on Redefine.
Note
It is possible to change function/alarm inputs after its creation. It allows users to make input adjustments in case of an error, without the need to remove the function/alarm results.
Deleting a Function/Alarm Instance
Select the function/alarm instance in the field hierarchy under the Functions/Alarms folder.
Click on Delete,
, in the toolbar at the top. Alternatively, right click on the function/alarm name and select Delete.In the Confirmation dialog, click on Delete.
Or,
Select the Functions/Alarms folder in the field hierarchy.
Go to the Children tab.
Select the function/alarm instances to delete.
Click on Delete,
.
Creating a Notification Instance
Go to PDG Mode and open the relevant field.
Select the objects under which to create the instance.
To create a notification instance in the toolbar at the top click on notification,
.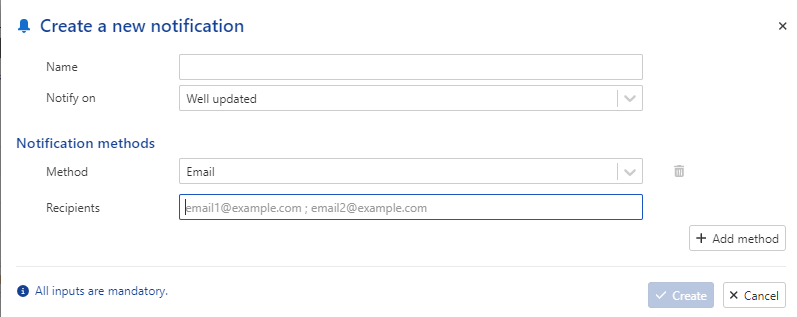
Give this instance a Name.
Select the appropriate definition.
Select the notification plugin from the dropdown list (Email, Teams...)
Optional. Add email address.
Click on Create.
A new node appears in the field hierarchy under the well: