Managing K-A Elements
Adding a Gauge
See Adding a Gauge to a Well for more details.
Renaming a Gauge
Select the gauge in the field hierarchy.
Click on Edit,
 , in the toolbar at the top. Alternatively, right click on the gauge in the field hierarchy and select Edit.
Enter the new name and click on Update.
Editing Gauge Data Type
It is possible to edit a gauge data type once it is loaded. To do so:
Select the gauge in the field hierarchy.
Click on Edit,
, in the toolbar at the top.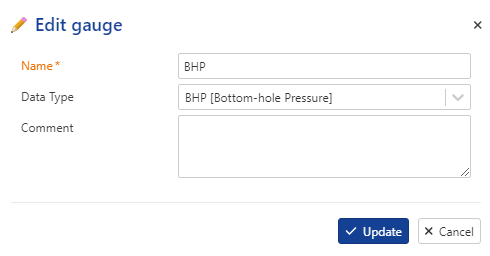
Select the new data type and click ok Update.
Deleting a Gauge
Select the gauge in the field hierarchy.
Click on Delete,
 , in the toolbar at the top. Alternatively, right click on the gauge and select Delete.
In the Confirmation dialog, click on Delete.
Or,
Select the parent well in the field hierarchy.
Go to the Children tab.
Select the gauges for the selected well to delete.
Click on Delete,
,.
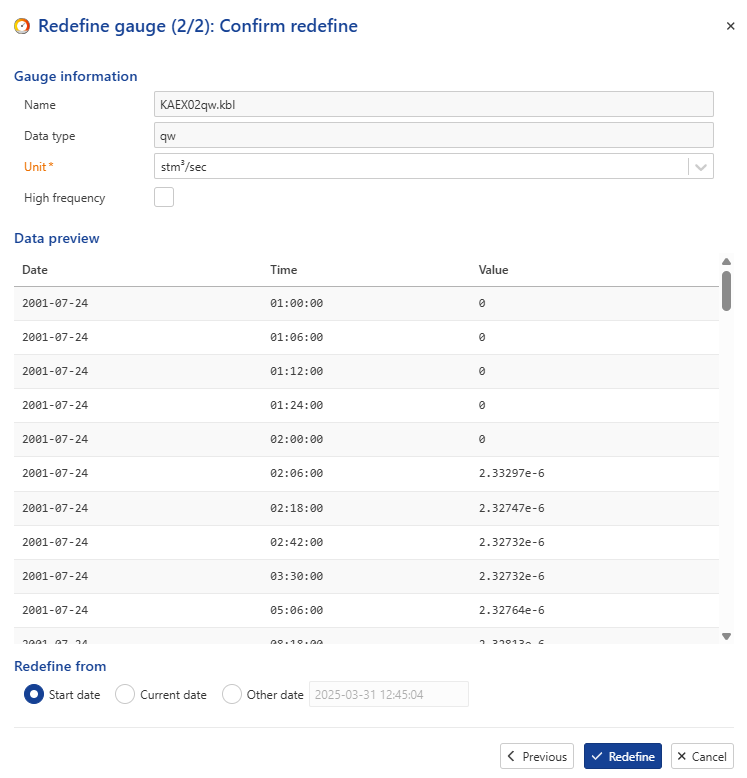
Redefining a Gauge
It is possible to redefine a gauge. To do so:
Select the gauge in the field hierarchy.
Click on Redefine,
 , in the toolbar at the top.
A Redefine gauge dialog is displayed. Navigate to the required data source node:
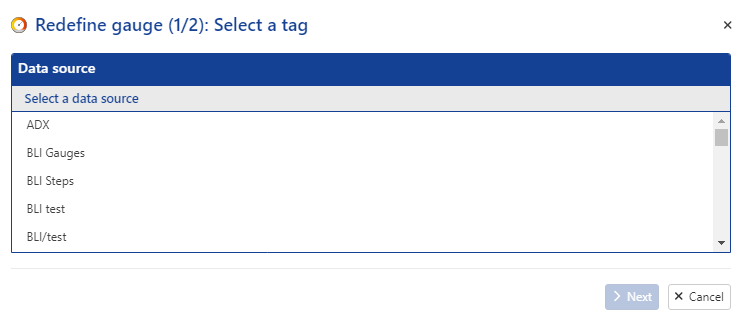
Click on the Search button to fetch the list of tags available under the data source node. Select a Tag from the provided list and proceed with the Next button.

In the Load confirmation page, review the preselected Data type,Unit , High frequency and Redefine from.