Creating a Function/Alarm Instance
After a Function/Alarm is created in the Automation mode, any number of the Function/Alarm's instances can be created for any well.
Go to PDG Mode and open the relevant field.
Select the well in the field hierarchy under which to create the instance.
To create a function instance in the toolbar at the top click on Function,
 ; to create an alarm instance click on Alarm,
  .
.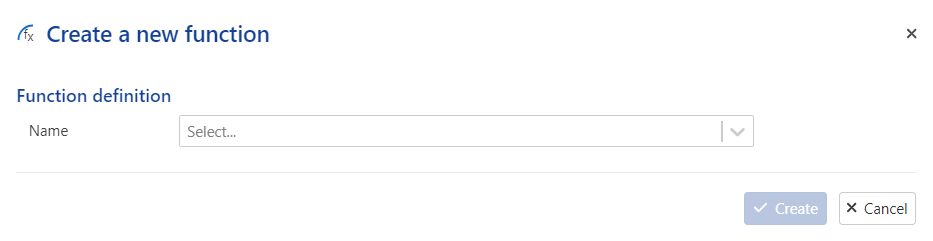
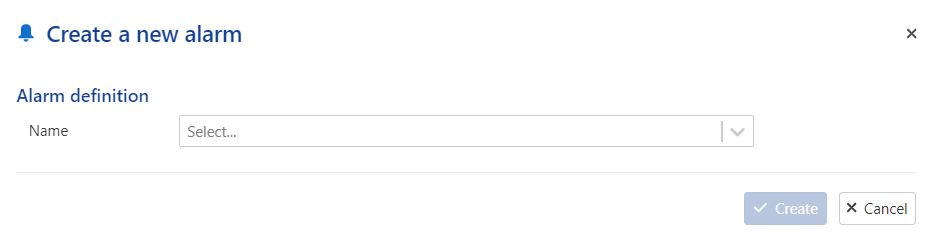
Select the function/alarm to instantiate from the dropdown list.
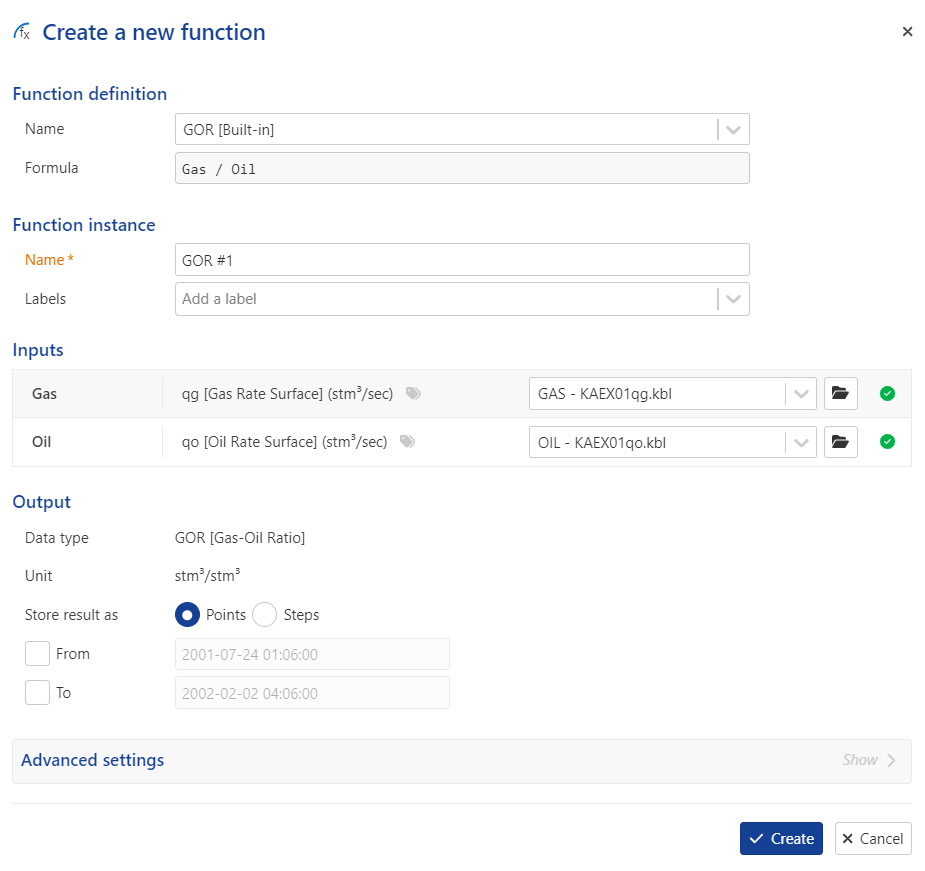
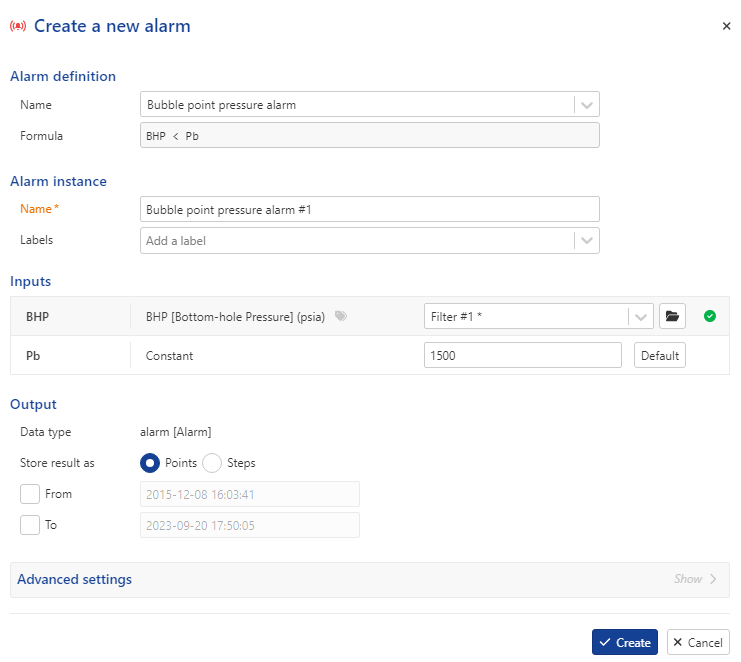
Note
The Function definition / Alarm definition section contains the information on the Function/Alarm being used (defined when the function/alarm was created) and cannot be changed.
Give this instance a Name.
Optional. Add any Labels if necessary. Labels can be selected from the dropdown list or created by typing a name and pressing Enter.
Optional. Change the default selection of Inputs if needed. By default, if no label is added, the Reference channel of the data type specified in the function definition is selected.
Optional. Select whether the output format should be Point or Step and the time range over which to calculate the Output.
Optional. If the default Data Synchronization needs to be edited, it can be done under the Advanced settings panel.
Click on Create.
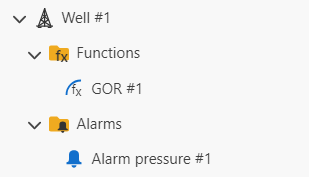
A new node appears in the field hierarchy under the well:
 |
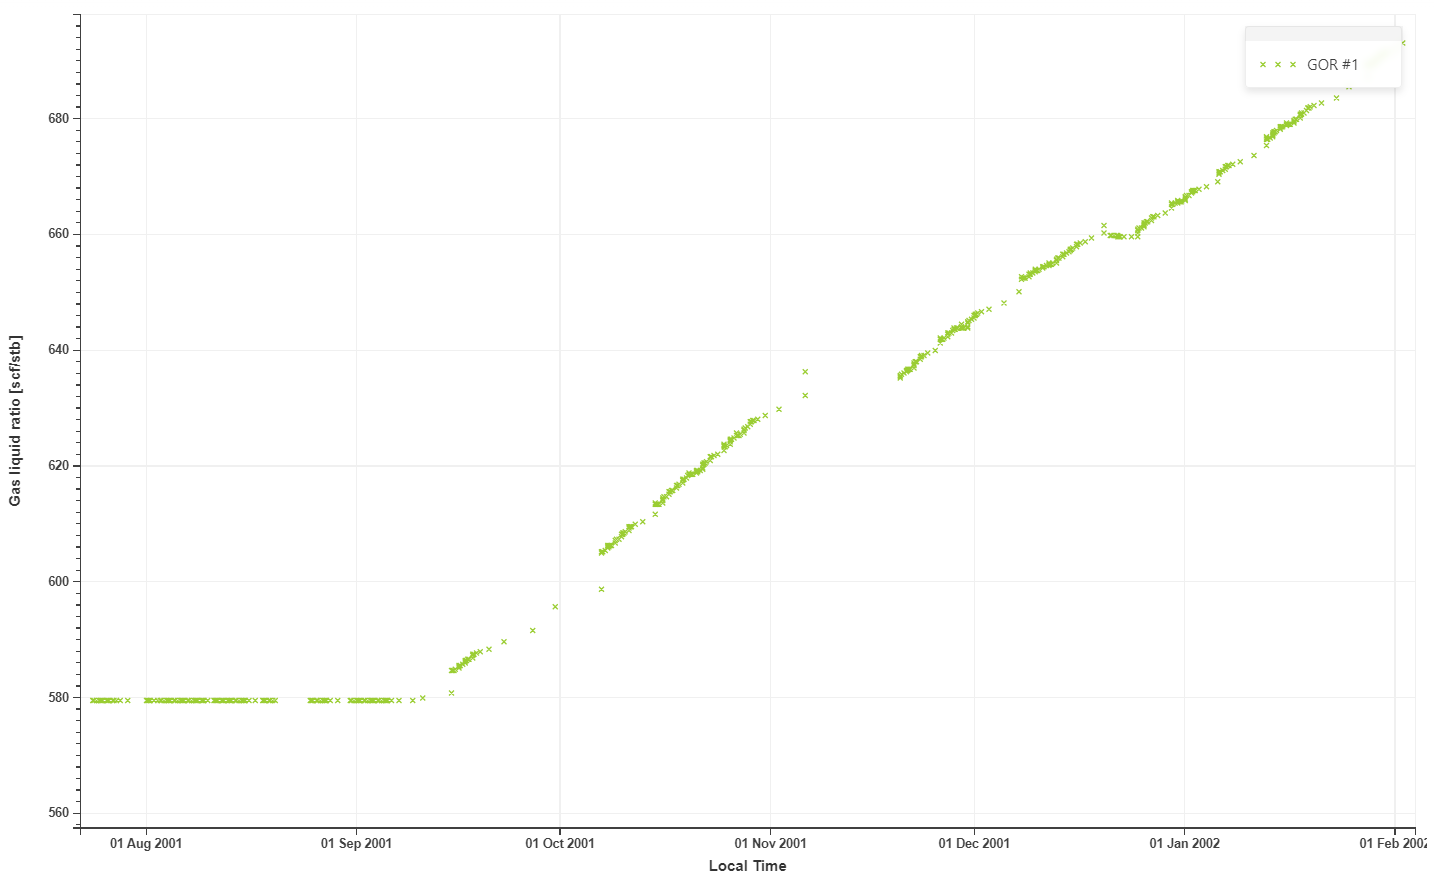
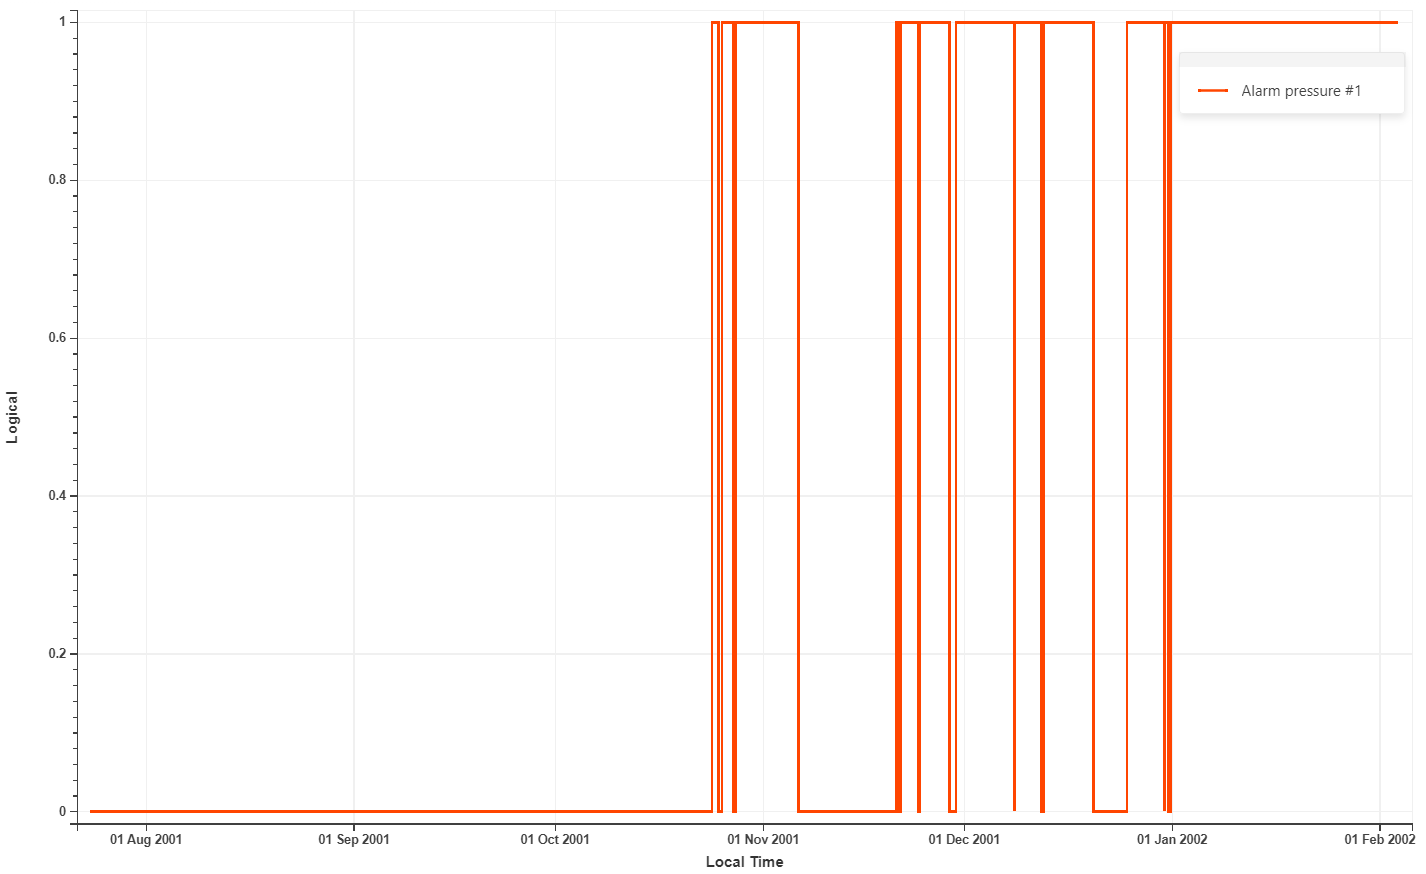
Click on the node to see the contextual plot displaying the function/alarm output:
 |
 |